Dies ist eine alte Version des Dokuments!
Pre-Processing
Preparing a REX3D simulation
Before a flow simulation can be carried out, it must be configured as follows:
- Way 1: Menu: Simulation > Open REX3D configuration\
- Way 2: Double-click on REX3D
in the process tree
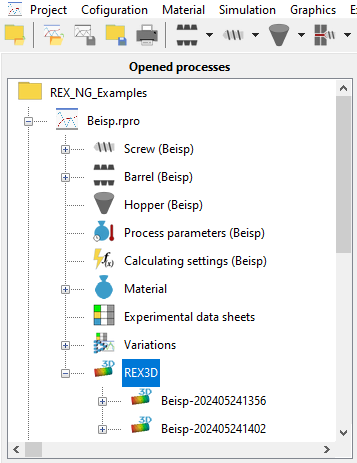
In the window that appears, you must select whether the simulation should be assigned to an existing process or whether no assignment should be made.
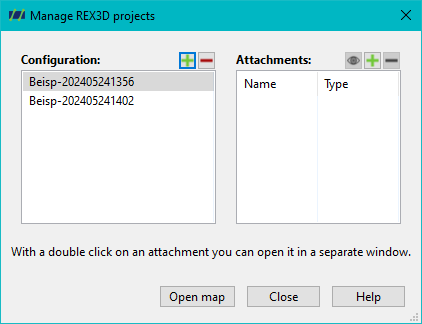
The following window then opens:
Define geometry data
The simulation is configured in this window. If the configuration has previously been assigned to a process, the available screw zone and the process parameters are already defined according to the process. If the configuration is not assigned to a process, you must make these settings yourself.
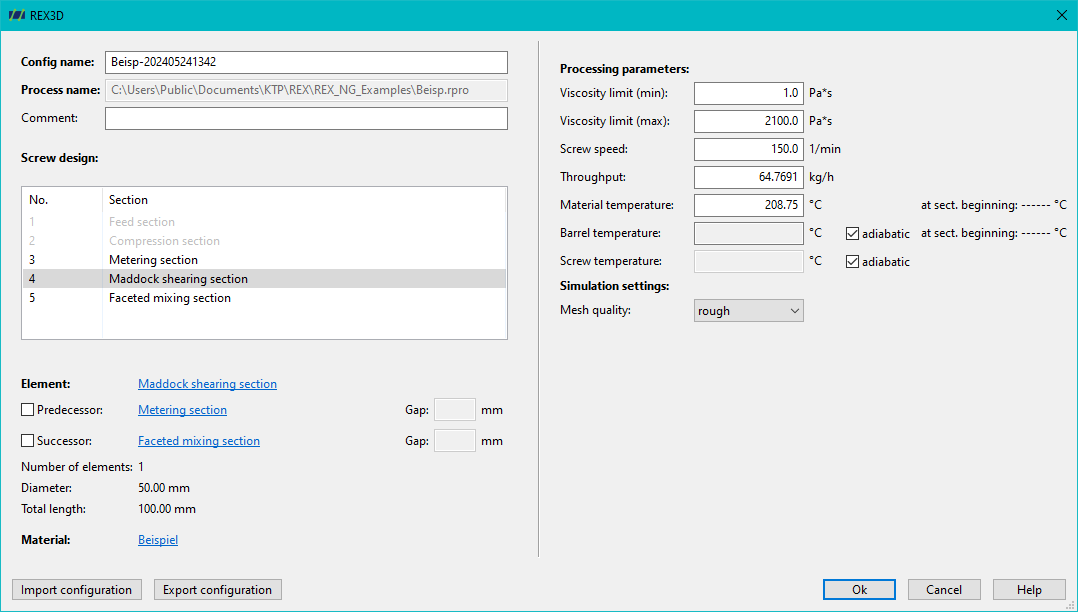
Once a process has been selected, the screw zones, shear and mixing parts it contains can be selected. Up to three screw zones (main element, predecessor, successor) can be used in a simulation.
A transition area (gap) can be defined as a transition between two elements.
Define material
The respective process-bound, preset material is displayed. This can be replaced by a customised material for the numerical simulation.
Define process parameters
The viscosity limits are determined automatically from the defined material data and do not need to be modified. Furthermore, the speed, throughput and material temperature are taken from the process, but can be customised.
The grid quality is set to Coarse by default. It can be changed under Simulation settings. There are a total of three gradations of grid quality. However, as the quality increases, so does the computing requirement and therefore the duration of a simulation.
Another standard setting is the isothermal simulation. In this case, the plastic melt has a constant material temperature as set in the flow simulation under process parameters.
If the configuration is assigned to a process, the window can be closed by clicking OK. A warning message appears. This draws attention to the fact that subsequent editing of the default settings is no longer possible. By
click OK again to save the configuration and assign it to the corresponding process:
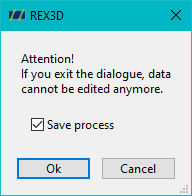
Alternatively, the created configuration can be saved using the Export configuration button. The Import configuration button can also be used to import settings from previously saved configurations.
Starting a REX3D simulation
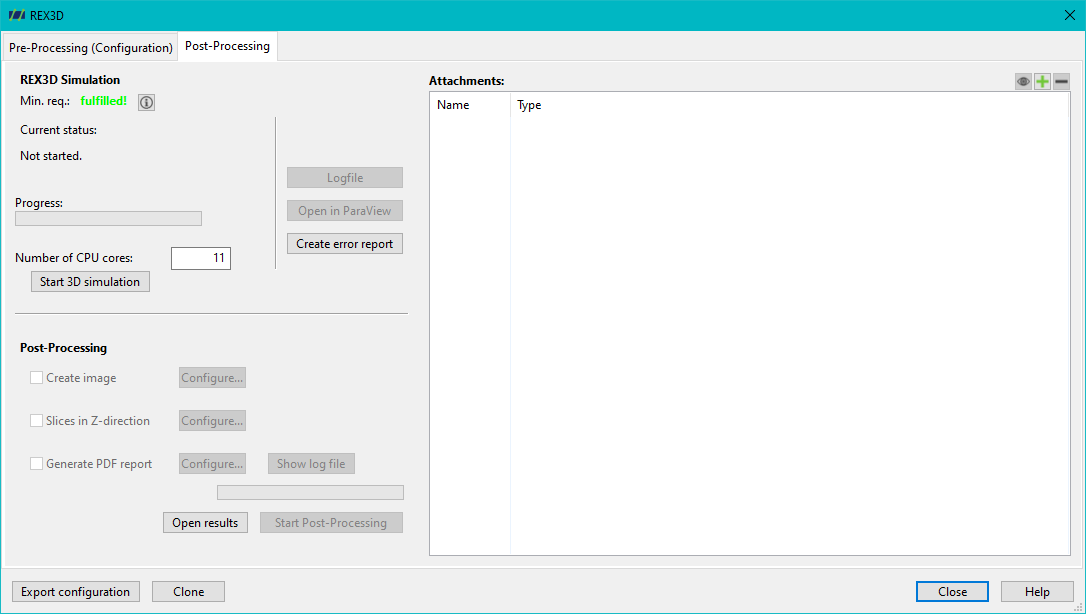
To start the simulation, the REX3D tab must be expanded within the project data. All Extrud3D configurations created that are assigned to the respective process are displayed here.
Double-click on the name of a configuration to open it:
- The number of CPU cores is set here. At least 3 CPU cores must be available for the simulation.
- The simulation can now be started via the button REX3D Simulation starten. The necessary hardware requirements are displayed via the //i // button.
First, a three-dimensional finite element mesh generator (gmsh) generates the geometries based on the previously defined input data and displays the result in a preview window.
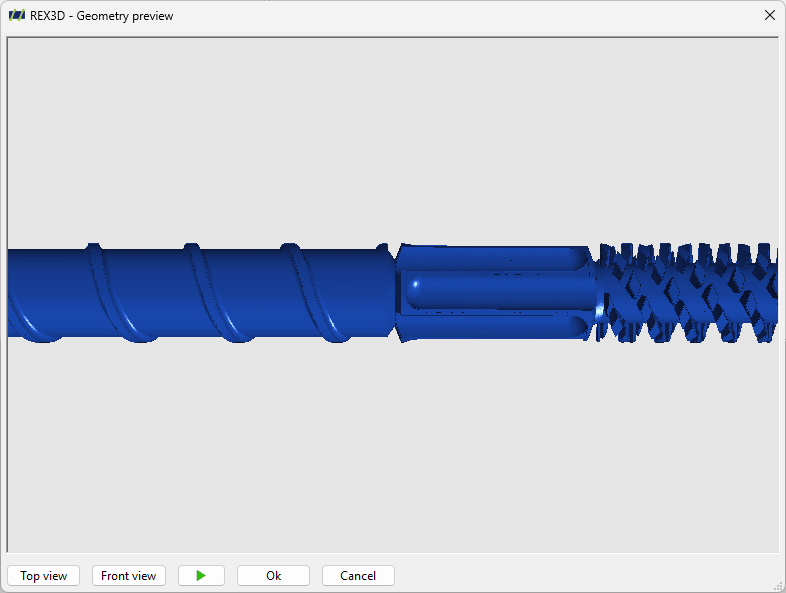
The element can be moved and rotated in space using the mouse. The Top view and Front view buttons enable predefined viewing angles of the generated element.
If the generated mesh meets the expectations, the simulation can be started by clicking the OK button.